
Intro
I recently built a new server with off-the-shelf consumer hardware and wanted to throw an extra 3070 GPU in it. Since I run Kubernetes at home, I had to figure out how to pass this GPU through to my Kubernetes cluster, and in turn any pods that need to use it. This was the magic adventure I had to go through to get this done. Of course, I used several articles and sources to acomplish this and these sources will be listed at the end of this post.
Step 0: Make sure you’re ready for the passthrough
- Make sure you have a GPU that is not used by Proxmox or a motherboard that can post without a GPU.
- Make sure you have IOMMU enabled in bios.
Step 1: Setting up GPU passthrough in Proxmox
These are the steps needed to prepare Proxmox for GPU passthrough to a VM
Configuring Grub
First, edit your proxmox host’s /etc/default/grub and add the following to GRUB_CMDLINE_LINUX_DEFAULT:
GRUB_CMDLINE_LINUX_DEFAULT="quiet amd_iommu=on iommu=pt pcie_acs_override=downstream,multifunction nofb nomodeset video=vesafb:off,efifb:off"
If you’re using an intel CPU you can use intel_iommu instead of amd_iommu
Run update-grub after.
Update VFIO Modules and IOMMU mapping
Edit /etc/modules and add the following lines:
vfio
vfio_iommu_type1
vfio_pci
vfio_virqfd
Add the following to their respective files, with echo is easiest
echo "options vfio_iommu_type1 allow_unsafe_interrupts=1" > /etc/modprobe.d/iommu_unsafe_interrupts.conf
echo "options kvm ignore_msrs=1" > /etc/modprobe.d/kvm.conf
Blacklist drivers
Blacklist the drivers of the GPU you want to pass through. If you’re using IGPU, like an AMD CPU with IGPU, don’t blacklist its drivers. For me, I only blacklisted nvidia.
echo "blacklist radeon" >> /etc/modprobe.d/blacklist.conf
echo "blacklist nouveau" >> /etc/modprobe.d/blacklist.conf
echo "blacklist nvidia" >> /etc/modprobe.d/blacklist.conf
Add GPU to VFIO
Run lspci to find your GPU. Take note of the ID, looks like 01:00
Get the vendor ID of the card with lspci -n -s 01:00
You’ll get something like this:
root@avallach:~# lspci -n -s 02:00.0
02:00.0 0300: 10de:2484 (rev a1)
Add that vendor ID to the VFIO confg. You can comma separate multiple cards 10de:2484,10de:2485:
echo "options vfio-pci ids=10de:2484 disable_vga=1"> /etc/modprobe.d/vfio.conf
Update initramfs and reboot:
update-initramfs -u
reboot
Setting up VM
Create base VM in Proxmox (without booting or OS for now)
Create your baseline VM however you’d like but don’t start it yet. Then in Proxmox shell, edit the VM by ID.
nano /etc/pve/qemu-server/<vmid>.conf
Change the following:
machine: q35
cpu: host,hidden=1,flags=+pcid
args: -cpu 'host,+kvm_pv_unhalt,+kvm_pv_eoi,hv_vendor_id=NV43FIX,kvm=off'
Your cpu might already be set, so just overwrite it. Don’t add a new CPU entry. You likely will not have the machine or the args entries.
Add PCI device to VM
Next, go to VM hardware → add PCI Device, and fill it out like this:
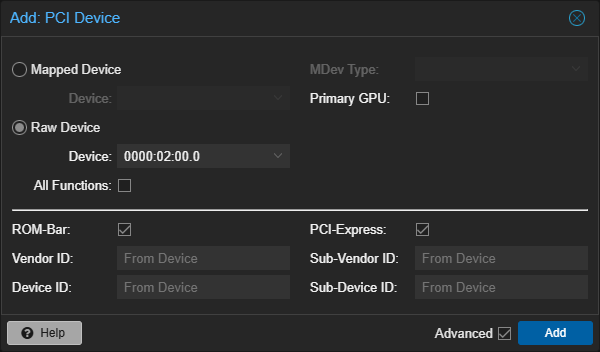
Select your GPU of course. If your PCI-Express is greyed out, it means your machine entry in your VM config is missing. Make sure Primary GPU is NOT checked.
Step 2: Setting up Talos
Create a Talos VM with GPU support
Make sure you have the following kernel modules and sysctls enabled in your worker config:
machine:
  features:
    kernel:
    #     # Kernel modules to load.
        modules:
            - name: nvidia
            - name: nvidia_uvm
            - name: nvidia_drm
            - name: nvidia_modeset
    sysctls:
        net.core.bpf_jit_harden: 1
Once you apply the config containing the kernel modules and sysctls, add the worker node to the cluster, run the upgrade command with the following extensions. You can get the correct ISO ID from https://factory.talos.dev/. You could also provide this hash in the worker config instead.
nonfree-kmod-nvidia
nvidia-container-toolkit
talosctl -n 192.168.1.101 -e 192.168.1.101 upgrade --image factory.talos.dev/installer/be2062e657fc638232f08f80c091591217bb43cf99ea6db9439ed05723a1900a:v1.7.5 --preserve
Check if your Talos VM has the GPU at this point.
To check the list of devices that the Talos VM has, you can run:
talosctl -n 192.168.1.101 -e 192.168.1.101 get pcidevices
You should see an entry with your GPU name simliar to this:
192.168.1.101 hardware PCIDevice 0000:01:00.0 1 Display controller VGA compatible controller NVIDIA Corporation GA104 [GeForce RTX 3070]
Step 3: Setting up Drivers and Passing to Kubernetes
Create the nvidia runtime:
apiVersion: node.k8s.io/v1
kind: RuntimeClass
metadata:
  name: nvidia
handler: nvidia
Then, there’s a helm chart for the nvidia-device-plugin that you can use. For me, it failed to detect which node had a GPU and I had to manually select my GPU node with the hostname expression. I use ArgoCD GitOps integration to deploy all my applications, but the helm chart values will be similar regardless of what you use.
apiVersion: argoproj.io/v1alpha1
kind: Application
metadata:
  name: nvidia-device-plugin
  namespace: argocd
spec:
  project: default
  source:
    chart: nvidia-device-plugin
    repoURL: https://nvidia.github.io/k8s-device-plugin
    targetRevision: 0.17.1
    helm:
      values: |
        runtimeClassName: nvidia
        affinity:
          nodeAffinity:
            requiredDuringSchedulingIgnoredDuringExecution:
              nodeSelectorTerms:
                - matchExpressions:
                    - key: kubernetes.io/hostname
                      operator: In
                      values:
                        - triss
        config:
          map:
            default: |-
              version: v1
              flags:
                migStrategy: none
              sharing:
                timeSlicing:
                  renameByDefault: false
                  failRequestsGreaterThanOne: false
                  resources:
                    - name: nvidia.com/gpu
                      replicas: 10
  destination:
    server: "https://kubernetes.default.svc"
    namespace: nvidia-device-plugin
  syncPolicy:
    syncOptions:
    - CreateNamespace=true
    automated:
      prune: true
      selfHeal: true
The replica count determines the number of time slicing the driver will handle, and in turn how many pods are allowed to use the GPU at the same time. Set the replica count to however many containers you want to be able to use the GPU.
Test the GPU
To make sure the GPU is working, you can run a sample cuda workload. Once again I run ArgoCD, and used bjw-s’ app-template helmchart to deploy the workload but you can use anything. Note the runtimeClassName and the resource limit of the nvidia GPU needed for GPU workflows.
apiVersion: argoproj.io/v1alpha1
kind: Application
metadata:
  name: gpu-debug
  namespace: argocd
spec:
  project: default
  source:
    chart: app-template
    repoURL: https://bjw-s.github.io/helm-charts/
    targetRevision: 3.3.2
    helm:
      # https://github.com/bjw-s/helm-charts/tree/main/charts/library/common
      values: |
        defaultPodOptions:
          securityContext:
              runAsNonRoot: false
              runAsUser: 0
              runAsGroup: 0
          runtimeClassName: nvidia
        controllers:
          main:
            containers:
              main:
                image:
                  repository: nvcr.io/nvidia/k8s/cuda-sample
                  tag: vectoradd-cuda11.6.0
                resources:
                  limits:
                    nvidia.com/gpu: 1
        service:
          main:
            controller: main
            enabled: false
  destination:
    server: "https://kubernetes.default.svc"
    namespace: nvidia-device-plugin
  syncPolicy:
    syncOptions:
    - CreateNamespace=true
    automated:
      prune: true
      selfHeal: true
If it fails, you’ll get something like this:
[Vector addition of 50000 elements]
Failed to allocate device vector A (error code CUDA driver version is insufficient for CUDA runtime version)!
If everything is working correctly, you’ll get an output like this:
[Vector addition of 50000 elements]
Copy input data from the host memory to the CUDA device
CUDA kernel launch with 196 blocks of 256 threads
Copy output data from the CUDA device to the host memory
Test PASSED
Done
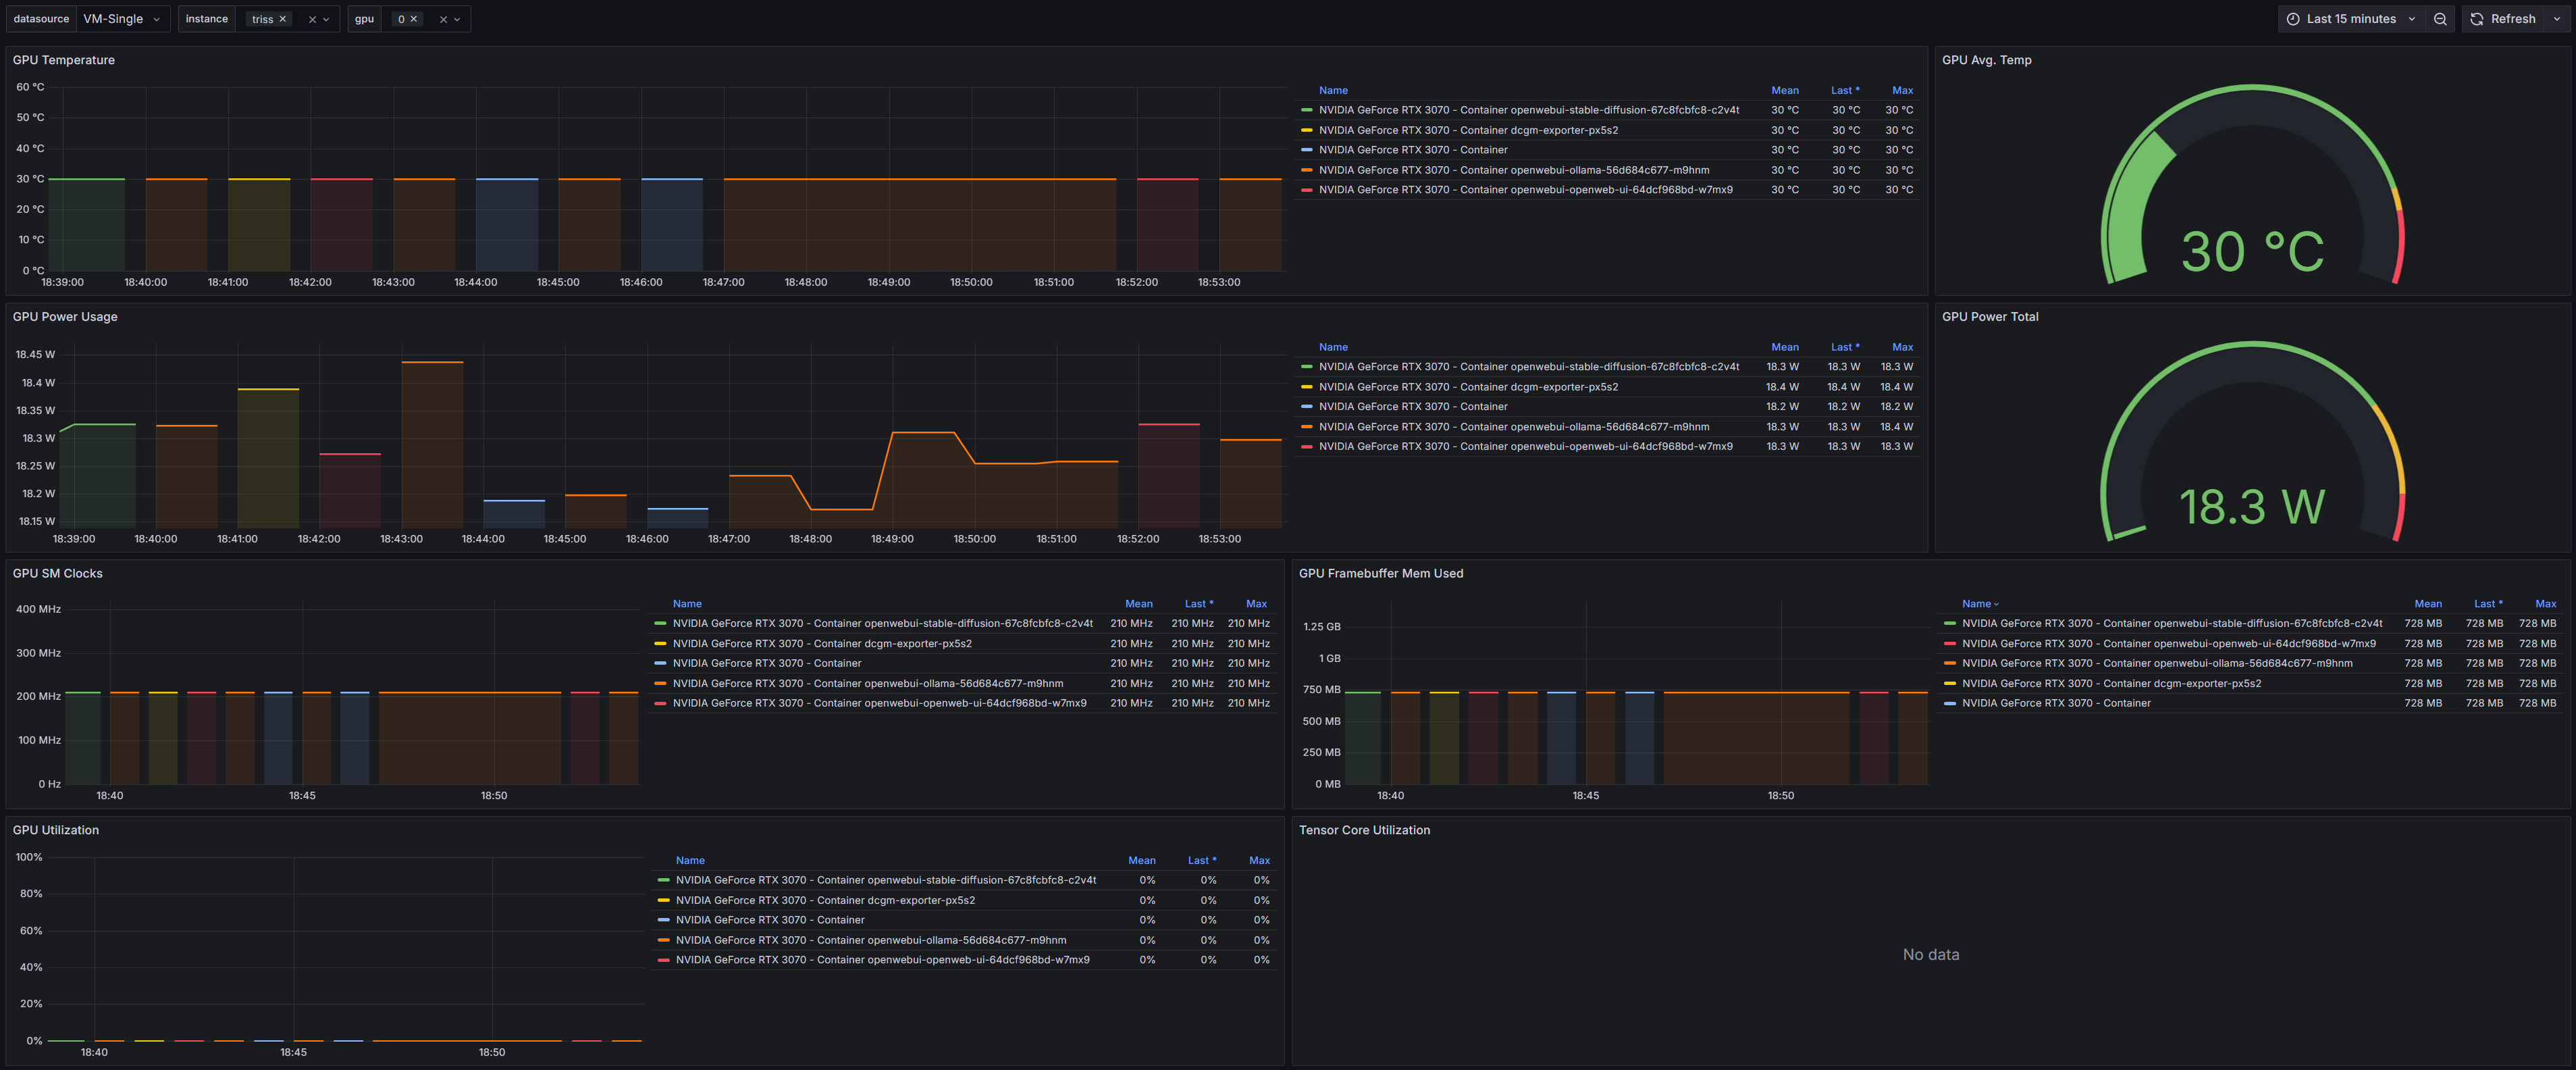
Bonus: Monitoring and Metrics!
Nvidia has a DCGM exporter helm chart and Grafana dashboard that can provide key metrics on your GPU status. You can install it with this helm chart. Here’s what that looks like in my ArgoCD manifest:
apiVersion: argoproj.io/v1alpha1
kind: Application
metadata:
  name: dcgm-exporter
  namespace: argocd
  annotations:
    notifications.argoproj.io/subscribe.on-config-or-state-change.discord: ""
spec:
  project: default
  source:
    chart: dcgm-exporter
    repoURL: https://nvidia.github.io/dcgm-exporter/helm-charts
    targetRevision: 4.0.4
    helm:
      values: |
        runtimeClassName: nvidia
        resources:
          limits:
            nvidia.com/gpu: 1
        affinity:
          nodeAffinity:
            requiredDuringSchedulingIgnoredDuringExecution:
              nodeSelectorTerms:
                - matchExpressions:
                    - key: kubernetes.io/hostname
                      operator: In
                      values:
                        - triss
  destination:
    server: "https://kubernetes.default.svc"
    namespace: nvidia-device-plugin
  syncPolicy:
    syncOptions:
    - CreateNamespace=true
    automated:
      prune: true
      selfHeal: true
Sources
- https://www.reddit.com/r/homelab/comments/b5xpua/the_ultimate_beginners_guide_to_gpu_passthrough/
- https://github.com/NVIDIA/k8s-device-plugin
- https://docs.nvidia.com/datacenter/cloud-native/container-toolkit/latest/install-guide.html
- https://www.talos.dev/v1.9/talos-guides/configuration/nvidia-gpu-proprietary/